

Silhouettes are one of my all time favorite projects to do with students. I often do them for Mother's Day gifts in the spring, but really you can do them with any holiday/theme/occasion. Most recently, I made a patriotic version for Veteran's Day. They are virtually free and snapshot a moment in a kids life that can be looked back on decades later. And if you have a bigger budget (or smaller class) you can add in a Dollar Store frame and make them a true keepsake for moms (or grandmas, or aunts, or dads, or whoever fills the "mom" role!)
Getting Started
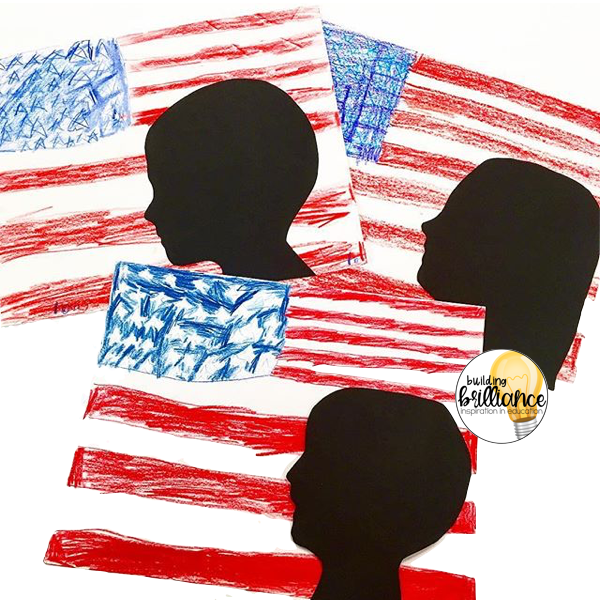
Before you even begin, you need to decide what will be the "theme" of the silhouette you are creating and give students directions to start their drawing. For Mother's Day gifts, I like to have them draw big flowers as their background. For our patriotic silhouettes, I had them draw a flag. You could easily have them draw a summer image, a winter image, a pumpkin patch, outer space, etc. Here are a few pieces of advice for the background:- Have kids stick with 3-4 colors as a maximum, otherwise their picture becomes too busy and takes away from the silhouette you will add on later.
- Don't have them draw too much detail in the picture, especially in the center. A large amount of it will be covered by their silhouette and you don't want any tears about covering up the picture they just spend 2 hours drawing (I taught kindergarten for years...I learned this the hard way!)
How to make those silhouettes:
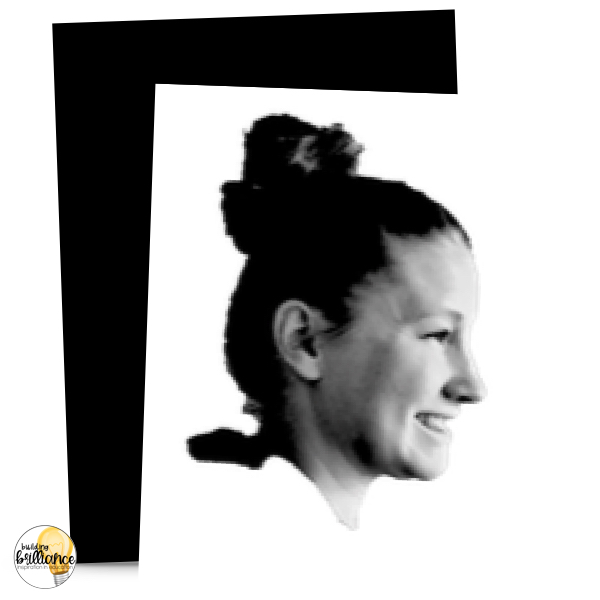
I have my class work on their background drawing while I am taking the pictures for step one.1. You are going to want to take a sideways profile of your student against a light colored background. I usually take mine against my whiteboard. Just use your cell phone and e-mail them to yourself. Or use a fancy camera...whatever you are most comfortable with! The pictures themselves don't really need to be great quality.
I just took an embarrassing selfie for an example...Ignore my tired eyes. Ha! #MomLife
Note: Steps 2-3 are completely optional. You could skip them, go straight to step 4 and still have beautiful silhouettes, but these steps make cutting it out easier and they take all of 15 seconds to do.
2. Put that picture into PowerPoint. 3. In PowerPoint, click "Format Picture". Under the Format Picture tab, there is one that says "Remove Background". Click that. It should remove any distracting background that you have and make the final step easier.

If you wanted to get really fancy, you could also adjust the color with a filter.

What you are left with is a clear picture that is easy to cut around.
4. Print that pretty little picture you just made in black and white...no need to waste precious color ink. Print into whatever size you want. If you want it full page, just hit print. If you want it smaller, change it to have 2 slides to a page (see picture below).

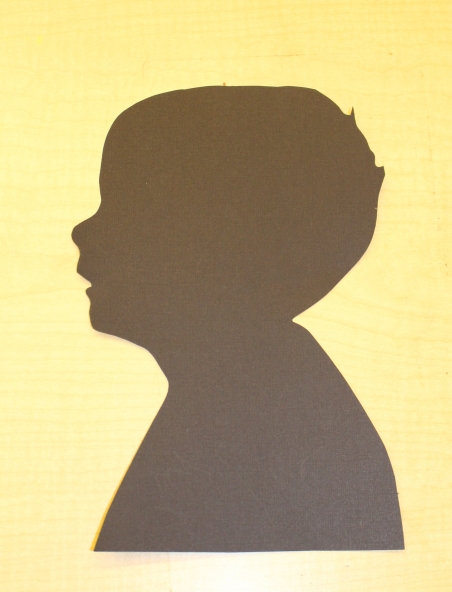
5. Now that you have your image printed, simply place it on top of a piece of black construction paper and trace the cuts around the face. You will be left with an adorable silhouette! (Side Note: You could really cut it on any color of construction paper. I am partial to the traditional back silhouette myself.)
You are left with something like this:
(TIP: Make sure you label who the picture is of. Although I can usually tell pretty easily, it does take more time to sort them out if you forget this step...I wouldn't know by experience or anything ;)
That's the hard part! It usually takes me about 2 minutes per kid total to take pictures, upload, edit, print, and cut them out, but it could be a job that is easily done by any parent helper or aide that you may have in your class. I tried one year to have my 4th graders cut them out themselves, and I ended up having to re-do several of them that turned out to just be blobs of black.6. When the backgrounds are completed and the silhouettes are cut out, simply have your students glue the silhouette onto the background. I have used stick glue, because it is what I have readily available and I don't like the bubbles that liquid glue cause, but use whatever you want, my friends!

Your end game will look something like this:
or this:
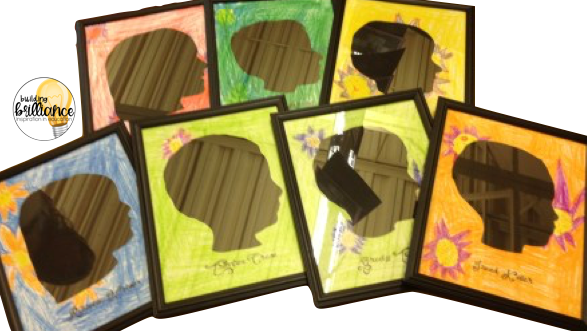
Note: If you want to get really fancy, you can type the kids names on the paper before they started drawing...it's a nice option if you want to add that, but really not necessary!
I have done this project for years and have yet to have it disappoint! It's the project I get the most feedback from parents about how much they love it! As a mom myself, I totally would be over the moon for something like this from my kids!Think you want to try a silhouette with your class? I would love to hear if you tried this project and how it worked with your students! Leave me a comment below or tag me on Instagram!

No comments